
This is something that numerous hams have had the chance to do. But, it’s never (ok, almost never) done in a vacuum. Using the latest marital equations….we chose a lot in what could be the worst neighborhood for amateur radio that I can realistically imagine. No trees. HOA with lots of folk with time on their hands. Our lot is a corner lot in prime view of the goings and comings of the neighborhood. Image of “hams” is very old school. See what I mean? But as the calculus resolved, here we are so I wanted to do the best I could within the financial and practical constraints that I faced. I can imagine that I’m no different than many other licensed amateurs so I’ll quit complaining.
Our lot with designed house footprint is shown here with my future shack location shown by the big red dot. The shack, however, is on the 2nd floor. That was my wife’s idea and it was a good one. I am retired but am still active writing. Putting my ham shack somewhere in my office made overall sense. Plus, this room opens out to a second floor screened porch with the best view of the Reservoir (Barnett Reservoir north of Jackson, MS).

Red mark = my ham shack alcove
Now that the location was set, I needed to think about antennas. Hmm…not much room to fantasize about given the CC &Rs and the lot size! The covenants states that “aerials” are not banned but cannot be seen. OK, that gives me some hide-in-plain-sight strategies to play with.
I had bought a custom-built 160M full wave horizontal loop from Maple Leaf Studios (http://myworld.ebay.com/mapleleafstudio/). Bruce NU0R had kindly agreed to build one for me after I had bought and used his G5RV at my previous Starkville MS residence where I had many 120+ foot oaks and pines. I had my electrical crew (thanks Chuck and Brian!) install this loop just under the outer edge of the roof shingles (about 1″). It fed back under the soffit on the narrow alleyway between the two houses for a few inches, connected to the Amidon balun. Unfortunately, we ran out of roof perimeter so the length of the loop had to be reduced. It resonates between the 80M and 160M bands. With an autotuner, it loads up well on 160M so that turned out to be very workable. I’ll talk more about the loop in future posts but at least I would have one HF antenna.
One problem that came up was a good one, from an energy savings point of view. My builder used foil-backed plywood as the substructure of the roof along with a ridge cap. It works very, very well as during the heat of summer in Mississippi, I can do work in the attic while in shorts and short sleeves. I’ve read mostly negative experiences from other hams with foil-backed roofing. I took a 2M HT in the attic and hit several area repeaters so that gave me some relief that my attic space might be useful for HF and VHF/UHF or higher antennas.
VUH/UHF Ventenna
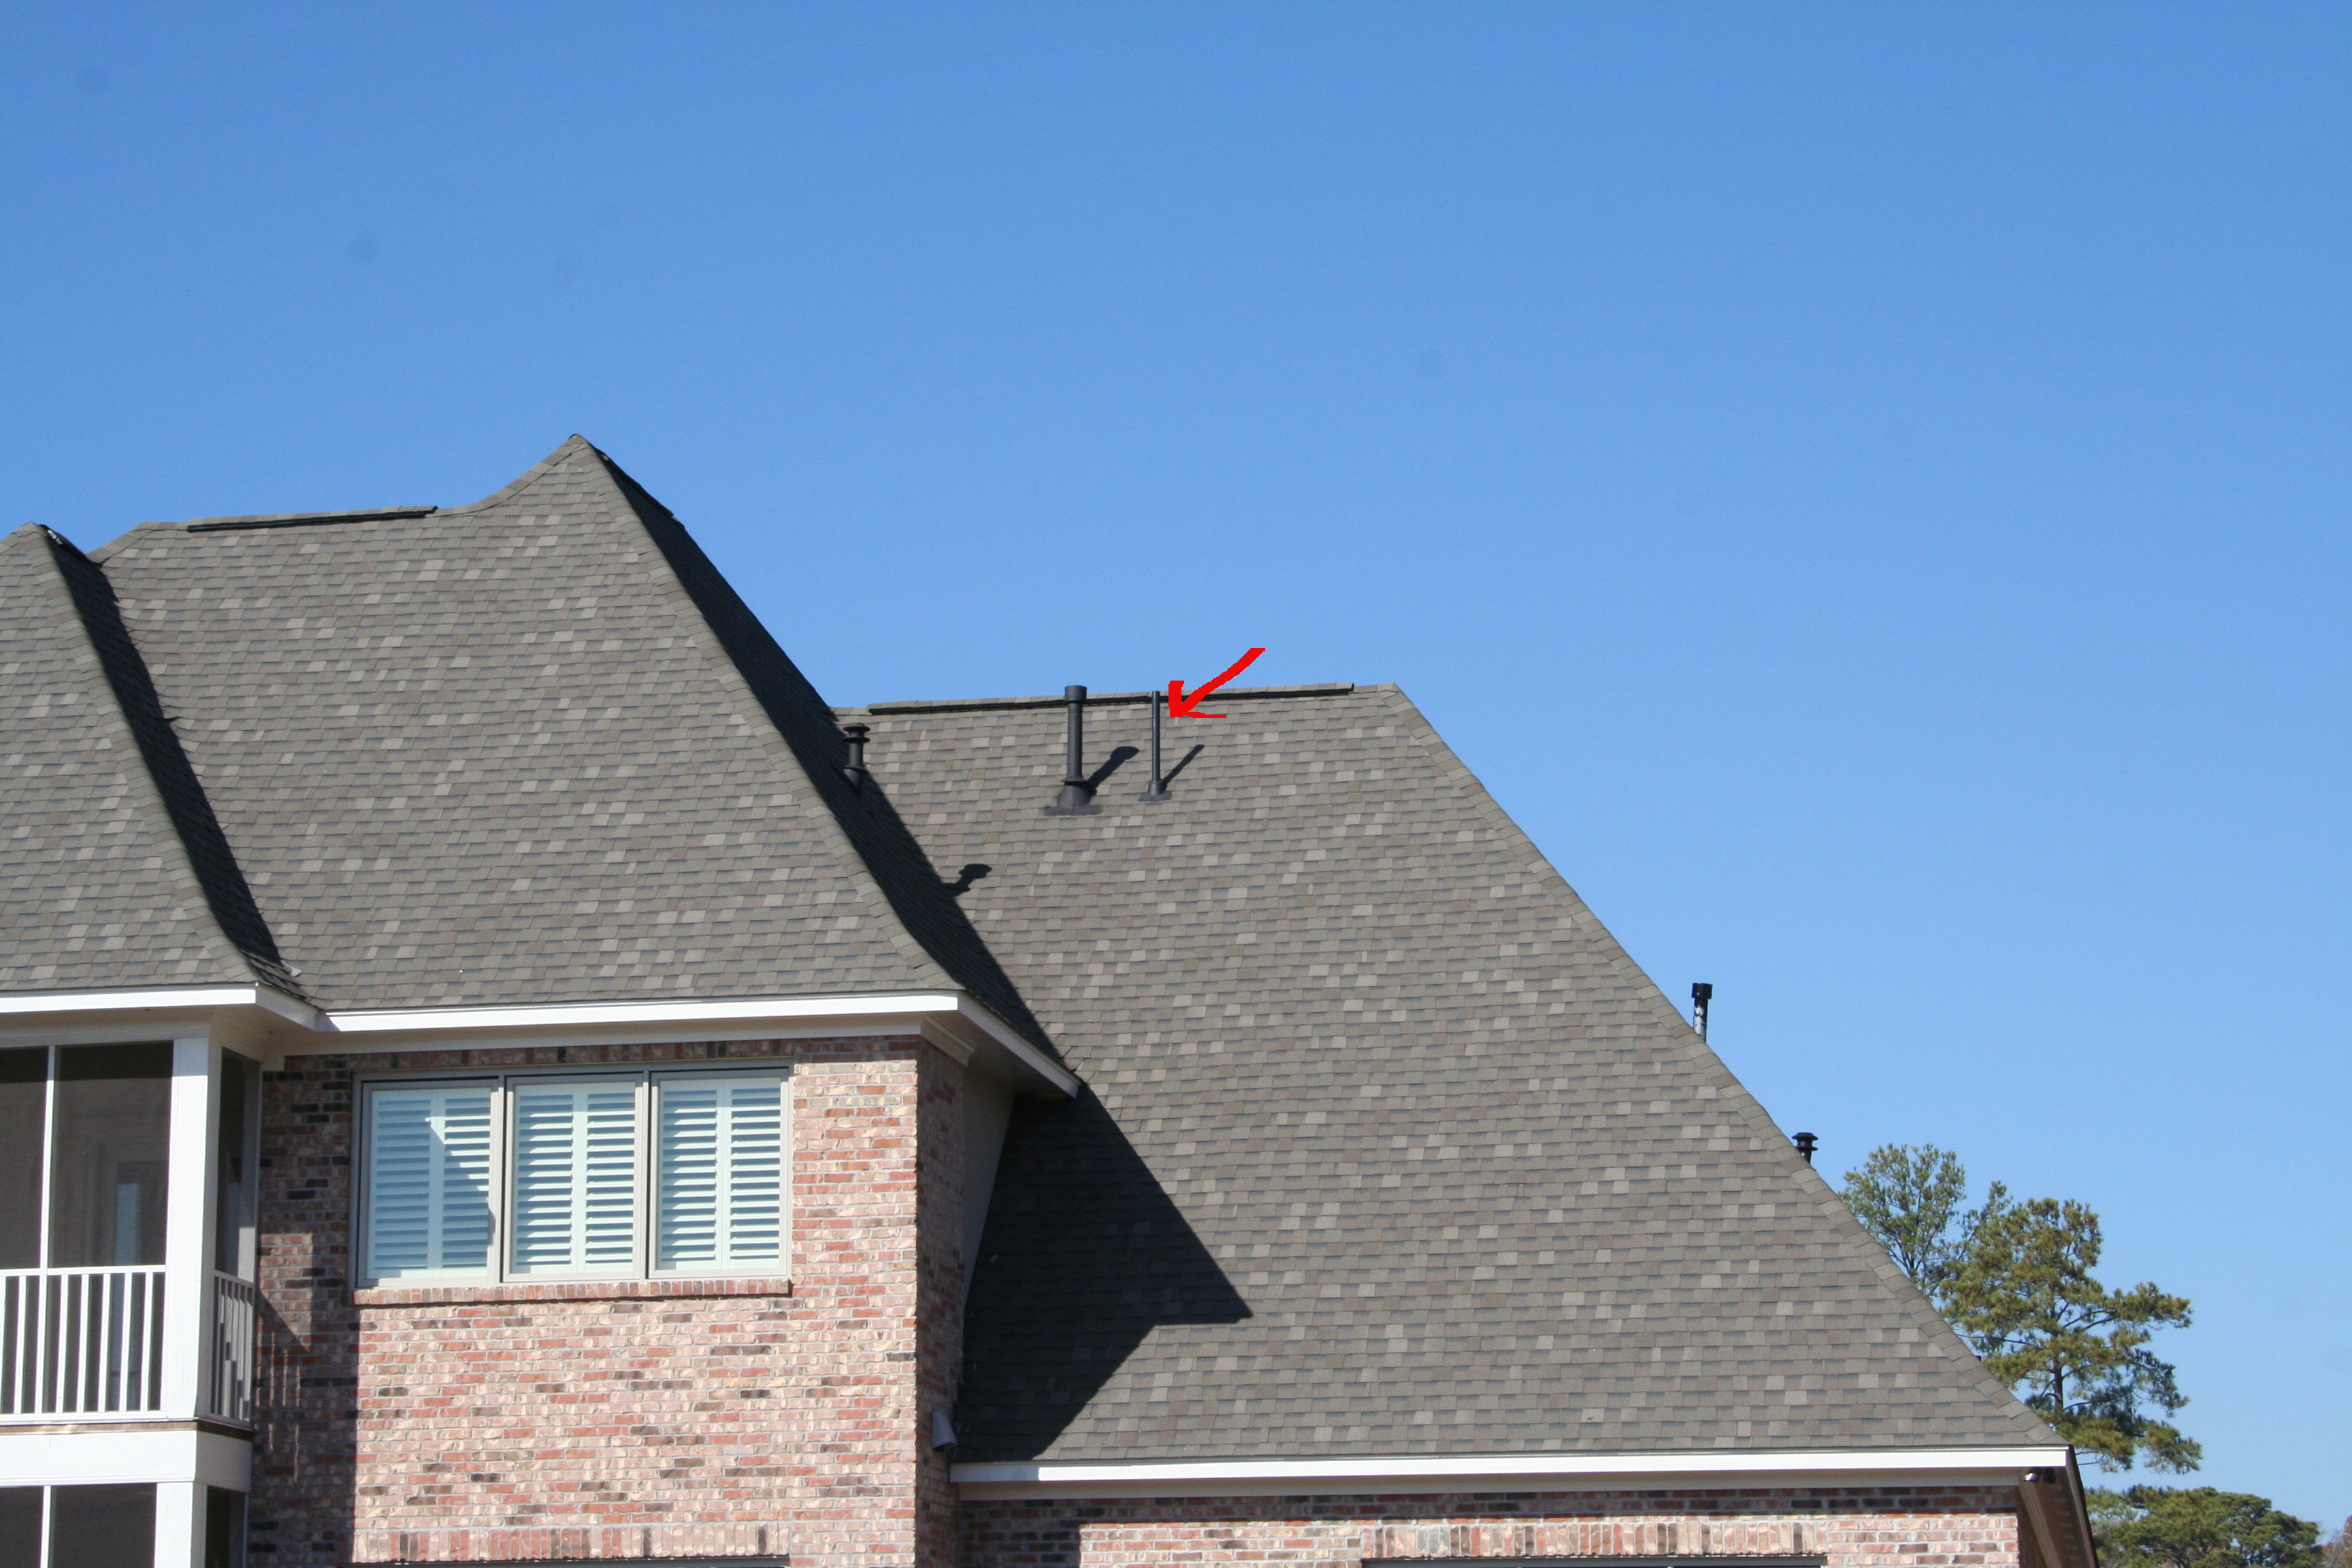
However, the Ventenna Company (www.ventenna.com) makes a 2M/70cm version that fits over a regular roof-based vent. I had my plumber install this model over the vent identified by the red arrow in the picture below. The coax is inside the attic which runs over to my shack quick nicely using LMR-400 coax. The good thing was, a month after the installation, the plumber asked me which vent the antenna was on as he couldn’t tell. I told him that was alright with me! It will handle up to 200 watts but I suspect that it’s only good for me to hit the repeaters around the greater Jackson MS area.
I’ll close for now. What I did for managing coax, grounding, built-ins for equipment, and other issues will be in following posts….soon!